
A beginner-sized off-grid solar system is 4 parts: panels, a charge controller, a battery bank, and an inverter. The design starts with the battery, sized from your daily watt-hours. A small cabin using about 1,000 Wh a day needs roughly 200-300 Ah at 12V, or 100-150 Ah at 24V, with 2 days of autonomy.
Learning how to design an off-grid solar power system comes down to one habit: count your loads before you buy anything. Panels are the easy part. The battery is where most budgets break, and where most first systems fail.
Write down every load and its wattage, then multiply watts by hours used per day. A 10 W light left on 5 hours is 50 Wh. Add them up before you price a single panel.
If your daily total lands under about 1,000 Wh, stay at 12V. Above that, go to 24V, because the same power at half the current means thinner, cheaper cable and a controller that runs cooler.
The mistake that costs the most is buying panels first. A 400 W array pushed into a battery bank sized for 200 Wh a day will spend most of the day throttled by the controller, and the bank will still be too small to carry you through the night.
This step by step off-grid solar installation guide for beginners covers the load math, the voltage choice, wire sizing, protection, and the order to connect everything so you don’t damage a component on day one.
What off-grid solar really means

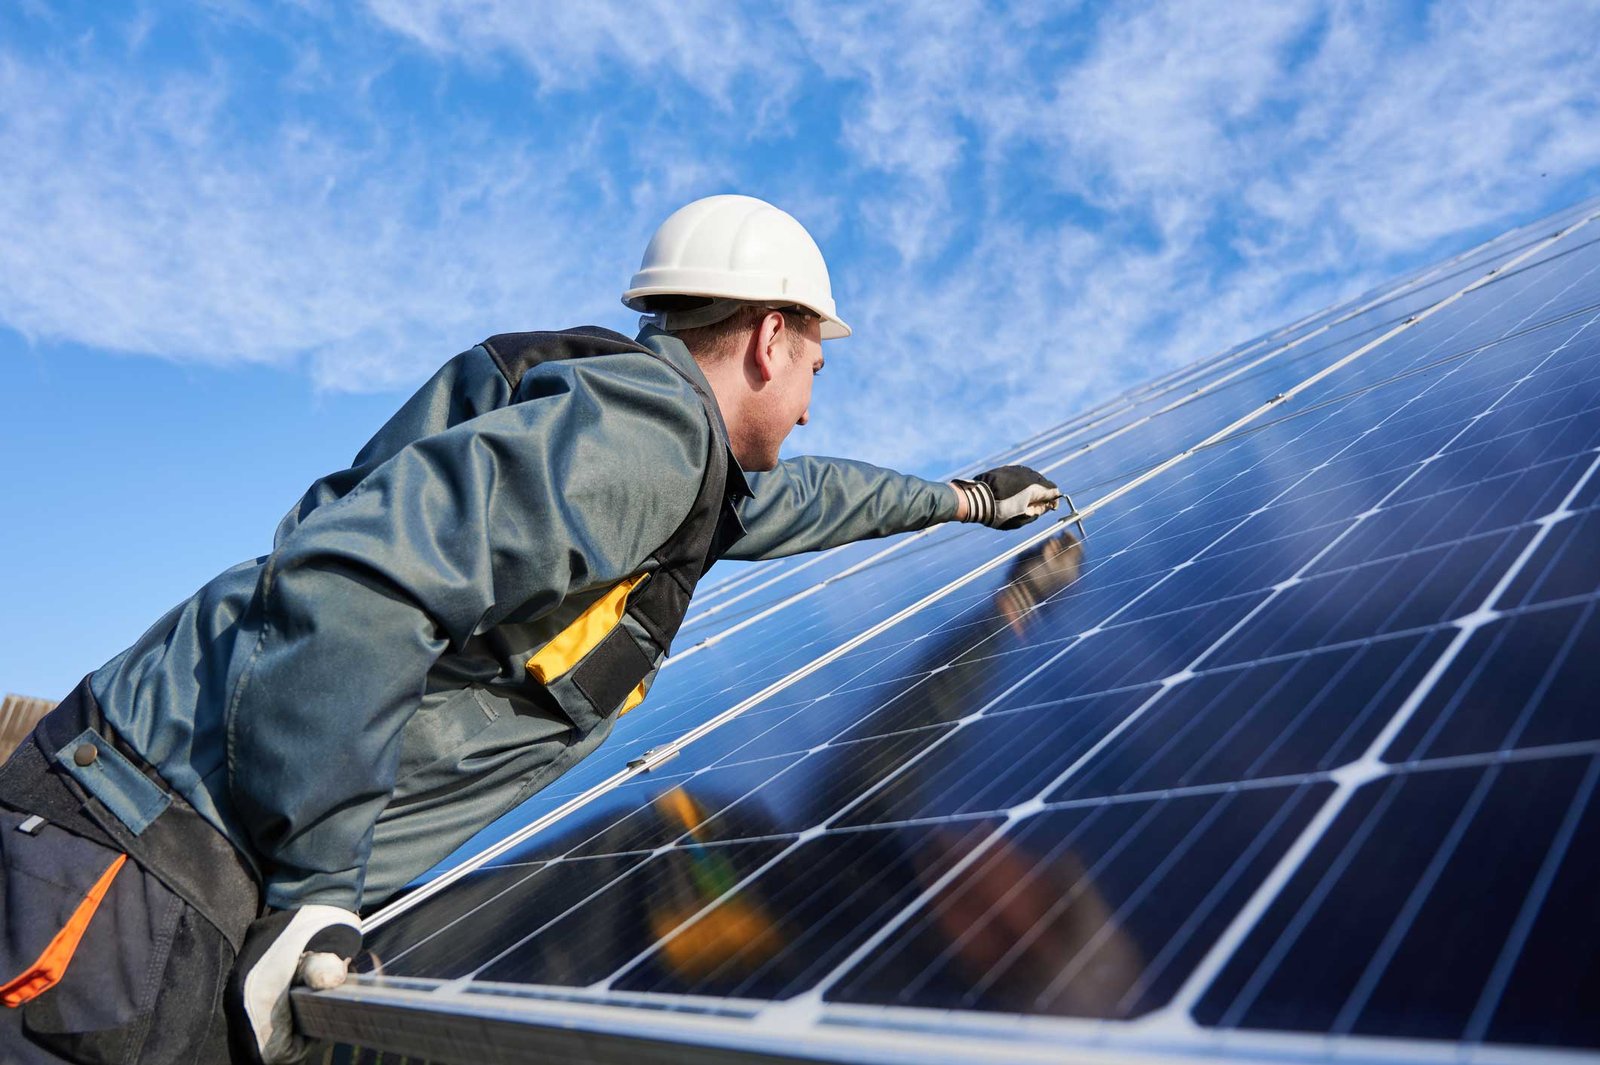
Photo: www.cleanenergyreviews.info on Google
An off-grid solar system makes its own power and stores it, with no connection to a utility grid. Panels charge a battery bank through a charge controller. The battery feeds an inverter, and the inverter makes the 120V AC that normal appliances need.
It’s for cabins, vans, boats, sheds, and remote sites where a power line would cost more than the equipment. It’s also for anyone who wants power independence and doesn’t mind checking a battery state of charge the way you’d check a fuel gauge.
The big misconception is that panels are the hard part. They’re not. Panels are cheap and simple. The battery bank sets your real limit, because it decides how many dark, cloudy days you can ride through.
That’s why an off-grid setup looks so different from a grid-tied one. A grid-tied system can treat the grid as a giant battery and push power back into it. An off-grid system has no backup, so every watt you use has to be stored first.
One rule you can trust: energy in must equal energy out, plus losses. A typical off-grid system loses roughly 20-30% between the panels and your wall socket, mostly in the battery and the inverter. Plan for that gap, and your system will feel bigger than you expected.
Step-by-step off-grid solar system installation for beginners
- Write your load list. List every device, its watts, and the hours per day it runs. A 10W LED light for 5 hours is 50 Wh. A 60W laptop charger for 3 hours is 180 Wh. Add them all up. That total is your daily watt-hour load calculation.
- Add a safety margin. Multiply the total by 1.3 to cover inverter losses and small standby draws. If your list came to 1,000 Wh, design for 1,300 Wh.
- Pick your system voltage. Under 1,000 Wh a day, 12V is fine. Between 1,000 and 3,000 Wh, go 24V. Above 3,000 Wh, use 48V. Higher voltage means thinner, cheaper wire for the same power.
- Size the battery bank. Divide your daily Wh by the system voltage, then divide by the depth of discharge you’re willing to use. Lithium (LiFePO4) tolerates 80-90% DoD. Flooded lead-acid should stay near 50%. Then multiply by your days of autonomy — 2 days is a normal starting point.
- Size the array. Divide daily Wh by your peak sun hours, then add 25-30% for losses. A site with 4 peak sun hours and a 1,300 Wh load needs about 400W of panels.
- Match the charge controller. Take array wattage and divide by battery voltage to get charge current. A 400W array on a 12V battery needs about 33A, so a 40A MPPT controller fits. Always round up.
- Choose the inverter. Add up the watts you’ll run at the same time, then check the surge power rating of anything with a motor — a fridge or a pump can pull 3-5 times its running watts for a second or two.
- Wire and protect it. Use a DC disconnect switch between the array and the controller, fuses or breakers on every positive conductor, and a combiner box when you run 3 or more strings of panels.
The judgement call that separates a good system from a frustrating one is the order you connect things. Battery first, always. Connect the battery to the charge controller before the panels, and disconnect the panels before the battery. Many controllers can be damaged if they see array voltage with no battery attached.
If your site needs a permit, a grid interconnection, or work on a live AC panel, that’s an electrician’s job, not a weekend project. Call a licensed electrician for anything past the DC side.
Off-grid solar numbers at a glance
Use this table to sanity-check your own design before you buy. The figures assume a temperate site with 4 peak sun hours and a 25% system loss.
| Situation | What to use | How long | What to watch for |
|---|---|---|---|
| Small cabin, lights and phone charging, under 500 Wh/day | 200W array, 12V, 100Ah LiFePO4, 300W pure sine wave inverter | 2 days autonomy | Inverter standby draw can eat 10-15% of a tiny load |
| Weekend cabin, fridge and lights, 1,000-1,500 Wh/day | 400-600W array, 24V, 200Ah LiFePO4, 1,000W inverter | 2 days autonomy | Fridge surge on startup; size inverter for the surge, not the running watts |
| Full-time small home, 3,000-5,000 Wh/day | 1,200-1,800W array, 48V, 300-400Ah LiFePO4, 3,000W inverter | 3 days autonomy | Wire gauge on long panel runs; voltage drop adds up fast |
| Lead-acid budget build, any size | Same array and inverter, flooded or AGM bank | 2 days autonomy | Keep DoD near 50%; deeper cycling shortens battery life |
| Winter or high-latitude site | Array 40-50% larger than summer sizing | 3-4 days autonomy | Snow cover and low sun angles cut output sharply |
| Panel run over 30 ft to the controller | Bump one wire size up, or raise array voltage | — | Voltage drop over 3% wastes power as heat |
| Motor loads (well pump, chest freezer) | Inverter with surge rating 3x the running watts | — | A modified sine wave inverter can overheat motors |
If any row doesn’t match your site, adjust the array size first. It’s cheaper to add a panel later than a battery.
What separates a good build from a bad one
Experienced builders start with the load list and work backward. They measure real consumption with a plug-in watt meter for a week before buying anything. That one habit catches the loads people forget — the router that runs 24 hours, the freezer that cycles on at night, the phone chargers left plugged in.
They also work in a fixed order: mount and ground the panels, run the wire, install the combiner box and disconnects, then connect the battery, then the controller, then the array, then the inverter. Each stage gets tested before the next one starts. If the controller reads battery voltage correctly with no array connected, you know the first link is sound.
Details that get skipped
Tilt angle and orientation matter more than most beginners expect. In the US, a fixed array tilted at your latitude angle faces south and captures the most annual energy. If you use the system mainly in winter, tilt 10-15 degrees steeper than your latitude to catch the low sun. If it’s a summer cabin, tilt 10-15 degrees shallower.
Torque matters too. Panel mount bolts loosen with thermal cycling. Check them after the first month, then once a season. Loose bolts mean a panel that moves, and a moving panel means a chafed wire.
What to leave alone
Don’t mix battery types, ages, or capacities in one bank. A new battery in a string of old ones gets dragged down to the weakest battery’s behavior. Don’t parallel strings of different lengths either — the current splits unevenly and one string works harder.
Don’t chase the cheapest inverter. A pure sine wave inverter costs more, but it runs electronics, motors, and anything with a compressor without buzzing or overheating. Modified sine wave units are fine for resistive loads like a space heater and almost nothing else.
Finally, don’t skip the overcurrent protection device on each circuit. A fuse costs a few dollars. A shorted battery cable costs a fire.
Common problems and quick fixes

Photo: www.amazon.com on Google
Most first-system problems show up as one of a handful of symptoms. Match what you notice to the likely cause, and check the simplest thing first.
| What you notice | What it usually means | What to do first |
|---|---|---|
| Battery never reaches full charge | Array too small, shading, or a controller set to the wrong battery type | Check controller settings, then look for shade on the panels |
| Inverter shuts off when the fridge starts | Surge power rating is too low for the motor | Check the fridge’s startup watts and compare to the inverter’s surge rating |
| Lights dim when the pump runs | Voltage drop in undersized wire | Measure voltage at the load; if it’s more than 3% below battery voltage, go up a wire size |
| System works fine, then dies at night | Battery capacity too small for the daily load, or DoD set too deep | Recheck the load math against actual use |
| Controller shows an error at sunrise | Panels connected before the battery | Disconnect the array, connect the battery, then reconnect the array |
| Breaker trips on a sunny day | Array current above the breaker rating | Check array short-circuit current and resize the protection |
If two or more of these show up at once, stop and recheck the whole design. A single wrong number — usually the daily load — throws off everything downstream.
The rules and ratings that apply
Electrical codes exist for a reason, and off-grid systems aren’t exempt. In the US, the National Electrical Code (NEC) covers PV systems in Article 690, including conductor sizing, disconnects, and grounding. Your local authority having jurisdiction (AHJ) enforces it, and many areas require a permit and inspection even for an off-grid cabin.
The National Fire Protection Association publishes the NEC, and your AHJ can tell you which edition your area follows. Check with them before you mount a single panel.
For equipment, look for UL listing on inverters, charge controllers, and combiner boxes. UL 1741 covers inverters for distributed energy systems; UL 458 covers power converters and inverters for land vehicles and marine craft. A listed component has been tested for the failure modes that cause fires.
Battery safety is its own topic. Flooded lead-acid batteries vent hydrogen while charging, so they need a ventilated space and no sparks nearby. Lithium LiFePO4 batteries need a battery management system (BMS) and should stay above freezing while charging — check your specific battery’s datasheet for its charging temperature range.
Grounding and surge protection round out the safety picture. Ground the panel frames, the combiner box, and the inverter chassis to a single earth ground. Add a DC surge protector on the array side if your site gets lightning.
If any of this touches your home’s main panel, a permit, or a grid connection, hire a licensed electrician. The DC side is a reasonable DIY job. The AC side and the permit paperwork are not.
Keeping the system healthy
Once it’s running, the work shifts to maintenance. Flooded lead-acid batteries need periodic water checks, more often in hot weather or under heavy charging. Lithium banks need almost nothing beyond a look at the BMS app.
Clean the panels every few months, more often in dusty areas or after snow. A dirty panel can lose a noticeable share of its output, and the loss is easy to miss because it happens slowly.
Check torque on mount bolts and lugs once a season. Loose connections heat up under load, and heat is what kills terminals over time.
Log your battery voltage and state of charge each week for the first few months. You’ll learn what normal looks like for your system, and you’ll spot a failing cell or a shading problem before it costs you a battery.
If the system starts needing more generator time than it used to, that’s the sign something changed. Check the array output first, then the battery capacity. Panels rarely fail. Batteries always age.
When off-grid solar isn’t the right call
If a utility line reaches your site for a reasonable connection fee, take it. Grid power is cheaper per kWh than any battery bank, and you can still add solar later as a grid-tied system with net metering. Off-grid only wins when the line cost is high or the distance is long.
If your daily load is above roughly 10-15 kWh, an off-grid battery bank gets very expensive very fast. A propane generator, a micro-hydro setup, or a grid connection will usually beat it on cost. Run the numbers before you commit.
If you’re not willing to check and maintain a battery bank, skip lead-acid entirely and pay for lithium with a good BMS. It costs more upfront and asks far less of you.
And if you need power for medical equipment or a business that can’t stop, don’t rely on a single off-grid system. You need a backup generator or a second independent power source. One cloudy week is all it takes.
Frequently asked questions
How many solar panels do I need for an off-grid cabin?
Divide your daily watt-hours by your peak sun hours, then add 25-30% for losses. A cabin using 1,500 Wh a day in a site with 4 peak sun hours needs about 500W of panels. That’s roughly 2 panels at 250W each, or 1 large panel at 500W. Measure your real load first — guessing here is the most common and most expensive mistake.
Can I run a refrigerator on off-grid solar?
Yes, if you size for the surge. A typical efficient fridge draws 100-200W running but can pull 3-5 times that for a second when the compressor starts. Use a pure sine wave inverter with a surge rating at least 3 times the fridge’s running watts, and count the fridge’s daily watt-hours in your load list — it often runs 8-12 hours a day in total.
What size battery bank do I need for off-grid solar?
Take your daily watt-hours, divide by the system voltage, then divide by your usable depth of discharge. For 1,500 Wh a day at 24V with 80% DoD, that’s about 78Ah per day. Multiply by your days of autonomy — 2 days gives you roughly 156Ah. Round up to the next standard size, like 200Ah.
How long do off-grid solar batteries last?
It depends on the chemistry and how deep you cycle them. Flooded lead-acid banks typically last a limited number of years at 50% DoD. LiFePO4 banks often last considerably longer, and many makers publish a cycle count on the datasheet — check yours for the exact figure at your planned DoD. Heat and deep cycling shorten both.
Is it safe to install an off-grid solar system myself?
The DC side — panels, controller, battery, and inverter — is a reasonable DIY job if you follow the code and use listed parts. The AC side, any permit work, and anything touching a home’s main panel should go to a licensed electrician. Battery banks store a lot of energy and can arc or vent, so treat every connection with care.
What happens if my batteries run too low?
The inverter or charge controller will usually shut off at a low-voltage cutoff to protect the bank. That cutoff is a safety net, not a plan. Repeated deep discharges shorten battery life, and a lead-acid bank left flat for weeks can sulfate and lose capacity permanently. Watch your state of charge and run a generator or cut loads before you hit the cutoff.
Do I need a permit for an off-grid solar system?
Often yes, even off-grid. Many jurisdictions require an electrical permit and inspection for any PV system, and some require a building permit for the mount. The rule varies by state and county, so call your local building department before you buy equipment. They’ll tell you which code edition applies and what they want to see.
Conclusion
Pick one room or one circuit and run it on solar first. You’ll learn how your usage really behaves, and you can add panels or batteries later without redoing the whole setup. Start small, keep notes, and let the system grow as you do.

Marcus Vance is a Renewable Energy Specialist with over 8 years of experience in solar system sizing, off-grid battery design, and sustainable power setups.